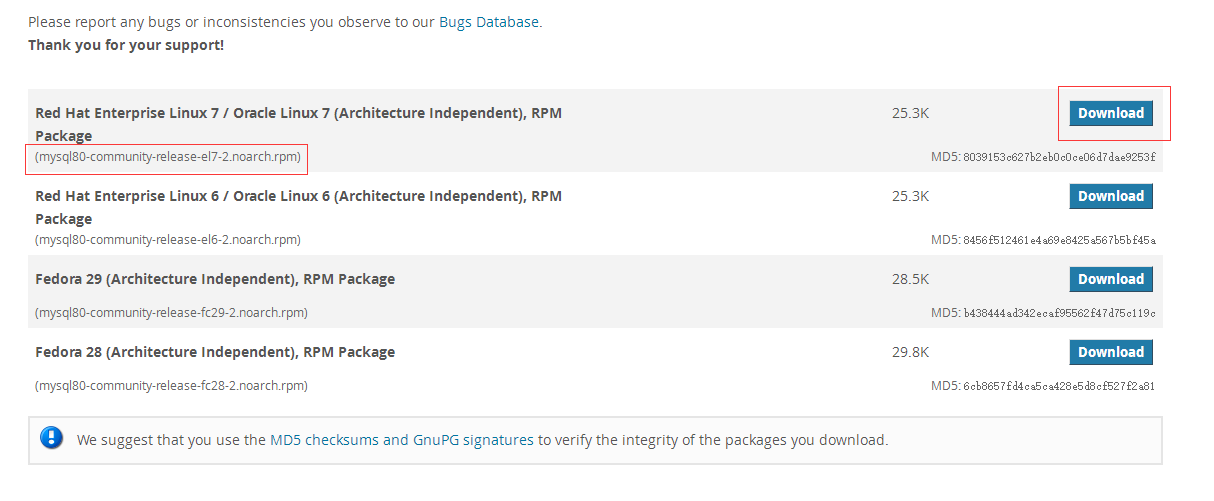
点击下载https://repo.mysql.com//mysql80-community-release-el7-2.noarch.rpm

    yum localinstall mysql80-community-release-el7-2.noarch.rpm
    yum install mysql-server
grep "password" /var/log/mysqld.log
2019-04-06T03:01:26.413527Z 5 [Note] [MY-010454] [Server] A temporary password is generated for root@localhost: l*acIwc&s5.8
    systemctl start mysqld.service
    mysql -u root -p;
    l*acIwc&s5.8
    ALTER USER USER() IDENTIFIED BY 'pAss#w0rd';
    exit;
    mysql -u root -p;
    pAss#w0rd
    exit;
    # For advice on how to change settings please see
    # http://dev.mysql.com/doc/refman/8.0/en/server-configuration-defaults.html

    [mysqld]
    skip-grant-tables
    character_set_server=utf8
    #
    # Remove leading # and set to the amount of RAM for the most important data
    # cache in MySQL. Start at 70% of total RAM for dedicated server, else 10%.
    # innodb_buffer_pool_size = 128M
    #
    # Remove the leading "# " to disable binary logging
    # Binary logging captures changes between backups and is enabled by
    # default. It's default setting is log_bin=binlog
    # disable_log_bin
    #
    # Remove leading # to set options mainly useful for reporting servers.
    # The server defaults are faster for transactions and fast SELECTs.
    # Adjust sizes as needed, experiment to find the optimal values.
    # join_buffer_size = 128M
    # sort_buffer_size = 2M
    # read_rnd_buffer_size = 2M
    #
    # Remove leading # to revert to previous value for default_authentication_plugin,
    # this will increase compatibility with older clients. For background, see:
    # https://dev.mysql.com/doc/refman/8.0/en/server-system-variables.html#sysvar_default_authentication_plugin
    # default-authentication-plugin=mysql_native_password

    datadir=/var/lib/mysql
    socket=/var/lib/mysql/mysql.sock

    [mysqld_safe]
    log-error=/var/log/mysqld.log
    pid-file=/var/run/mysqld/mysqld.pid
systemctl restart mysqld.service
ps -A|grep mysql
14384 ? 00:00:08 mysqld
mysql -u root -p
    use mysql;
    create user 'hbs'@'localhost' identified by 'pAss#w0rd';
    // 赋予hbs用户所有权限
    // grant 权限 on 数据库.* to 用户名@登录主机 identified by "密码";
    grant all privileges on *.* to hbs@localhost identified by 'pAss#w0rd';
    // 刷新系统权限表
    flush privileges;
    // 查看用户权限
    show grants for hbs@localhost;
    exit;
    mysql -u hbs -p
    pAss#w0rd
    ALTER USER 'hbs'@'localhost' IDENTIFIED WITH mysql_native_password BY 'pAss#w0rd';
    show variables like 'char%';
    exit;
systemctl stop mysqld.service
    # For advice on how to change settings please see
    # http://dev.mysql.com/doc/refman/8.0/en/server-configuration-defaults.html

    [client]
    port = 3306
    default-character-set = utf8mb4

    [mysql]
    default-character-set = utf8mb4

    [mysqld]
    #skip-grant-tables
    #character_set_server=utf8
    port = 3306
    character-set-client-handshake = FALSE
    character-set-server = utf8mb4
    collation-server = utf8mb4_0900_ai_ci
    init_connect='SET NAMES utf8mb4'
    skip-character-set-client-handshake = true

    #
    # Remove leading # and set to the amount of RAM for the most important data
    # cache in MySQL. Start at 70% of total RAM for dedicated server, else 10%.
    # innodb_buffer_pool_size = 128M
    #
    # Remove the leading "# " to disable binary logging
    # Binary logging captures changes between backups and is enabled by
    # default. It's default setting is log_bin=binlog
    # disable_log_bin
    #
    # Remove leading # to set options mainly useful for reporting servers.
    # The server defaults are faster for transactions and fast SELECTs.
    # Adjust sizes as needed, experiment to find the optimal values.
    # join_buffer_size = 128M
    # sort_buffer_size = 2M
    # read_rnd_buffer_size = 2M
    #
    # Remove leading # to revert to previous value for default_authentication_plugin,
    # this will increase compatibility with older clients. For background, see:
    # https://dev.mysql.com/doc/refman/8.0/en/server-system-variables.html#sysvar_default_authentication_plugin
    # default-authentication-plugin=mysql_native_password
systemctl start mysqld.service
ps -A|grep mysql
    mysql -u root -p
    pAss#w0rd
    show variables like 'char%';
    输出结果为:(数据库默认编码为拉丁文)
    mysql> show variables like 'char%';
    +--------------------------+--------------------------------+
    | Variable_name            | Value                          |
    +--------------------------+--------------------------------+
    | character_set_client     | utf8mb4                        |
    | character_set_connection | utf8mb4                        |
    | character_set_database   | utf8mb4                        |
    | character_set_filesystem | binary                         |
    | character_set_results    | utf8mb4                        |
    | character_set_server     | utf8mb4                        |
    | character_set_system     | utf8                           |
    | character_sets_dir       | /usr/share/mysql-8.0/charsets/ |
    +--------------------------+--------------------------------+
    8 rows in set (0.01 sec)
    exit;
systemctl restart mysqld.service
netstat -ln | grep 3306
    tcp6       0      0 :::3306                 :::*                    LISTEN
    tcp6       0      0 :::33060                :::*                    LISTEN
至此,数据库已经安装并配置完毕!

    create database db_niudan;
    use db_niudan;
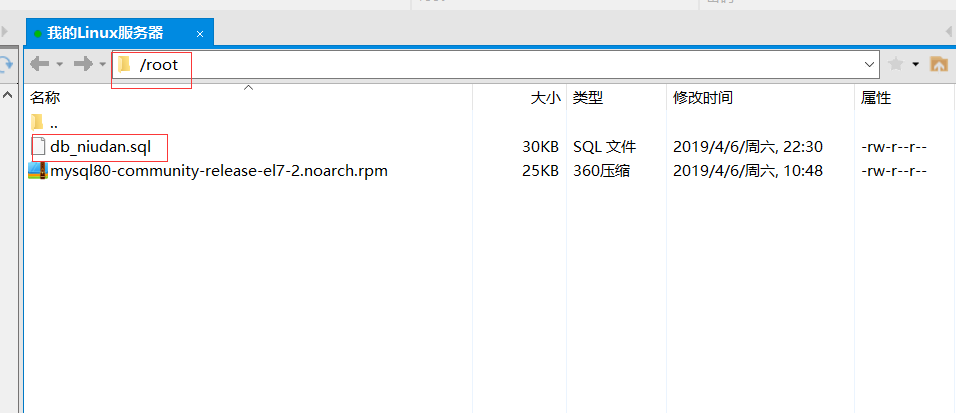
    source db_niudan.sql;
    show tables;
    select*from merchant;
至此,数据库已迁移完毕!
4/6/2019 11:33:37 PM 已解决!